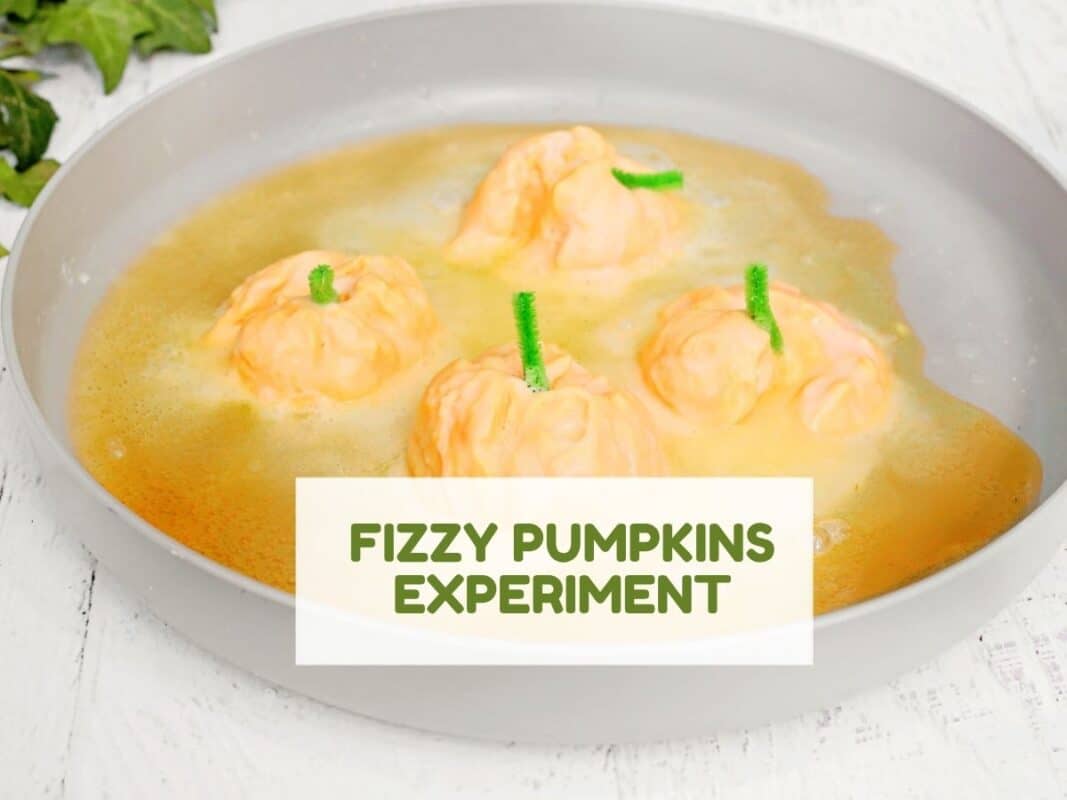
Looking for a fun way to bring a little Halloween science into your classroom or home? This fizzing pumpkins experiment is a simple, hands-on way for preschoolers to explore cause and effect while watching their pumpkin creations bubble and fizz. With a few simple supplies and plenty of opportunities to predict, observe, and talk about what is happening, this is an Easy STEM activity that is perfect for October, Halloween and the fall season. Find more fall activities for kids here.
Ad – This post contains affiliate links. As an Amazon Associate, I earn from qualifying purchases. If you purchase through the links I may earn a small commission at no extra cost to you.
Why you’ll love this fizzy pumpkins experiment
This fizzing pumpkins experiment is one of those activities that feels like play while giving preschoolers a chance to explore real science concepts. Kids can make their own little pumpkins, use a dropper to add liquid, and watch as a bubbly reaction begins. It is an easy Halloween science experiment for preschool that works well as a fall STEM activity for kids and encourages curiosity, observation, fine motor skills, and simple scientific thinking too. What more could you want this October?
Supplies you need for this fizzy pumpkins experiment
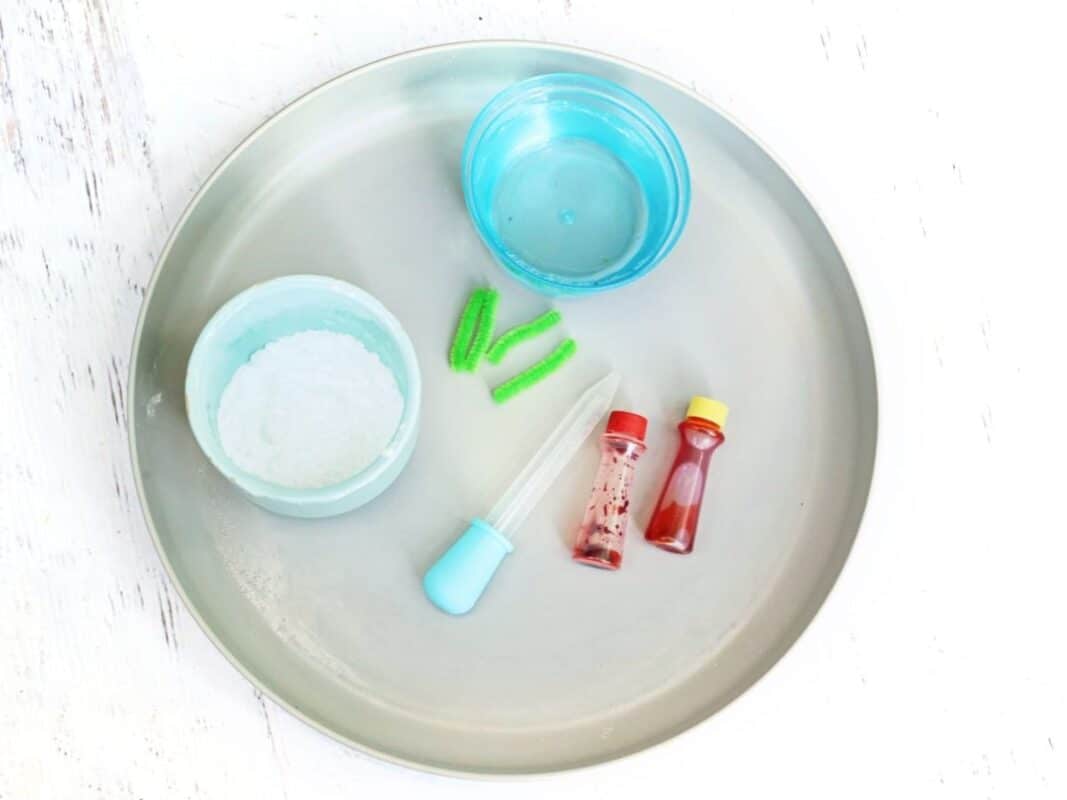
- 1 cup baking soda
- Water
- Orange food coloring (or red and yellow)
- Green pipe cleaner
- Vinegar
- Dropper or pipette
- Tray or shallow dish
Fizzy pumpkin experiment
Materials
- 1 cup baking soda
- Water
- Orange food coloring (or red and yellow)
- Green pipe cleaner
- Vinegar
Tools
- Dropper or pipette
- Tray or shallow dish
Instructions
- Step 1: Make the Pumpkin Paste
In a bowl, mix the baking soda with a small amount of water until a thick, moldable paste forms. Add a few drops of orange food coloring and stir until the color is evenly mixed.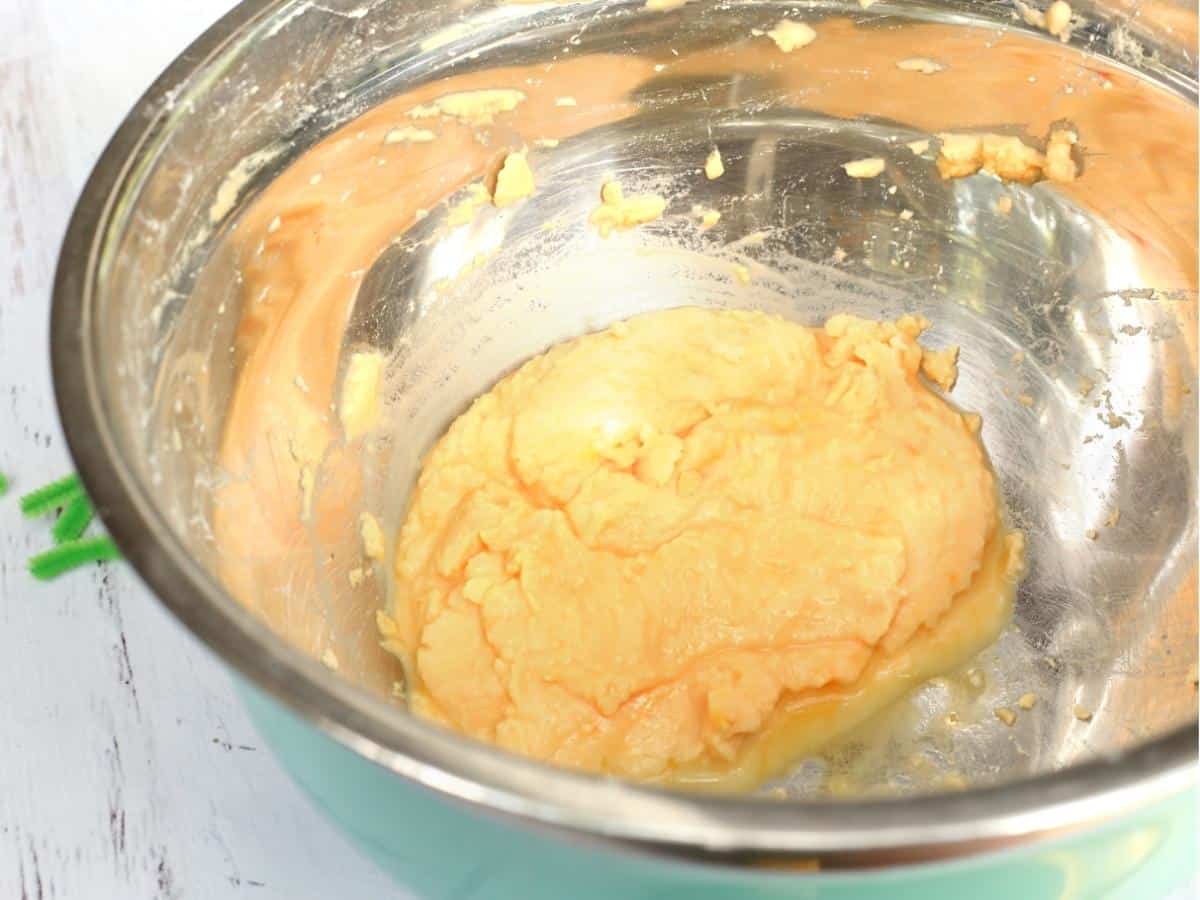
- Step 2: Shape the Pumpkins
Roll the paste into pumpkin-shaped balls. Gently press small pieces of green pipe cleaner into the tops to create stems. - Step 3: Set Up the Experiment
Place the pumpkins in a shallow tray or dish to catch the fizzing reaction.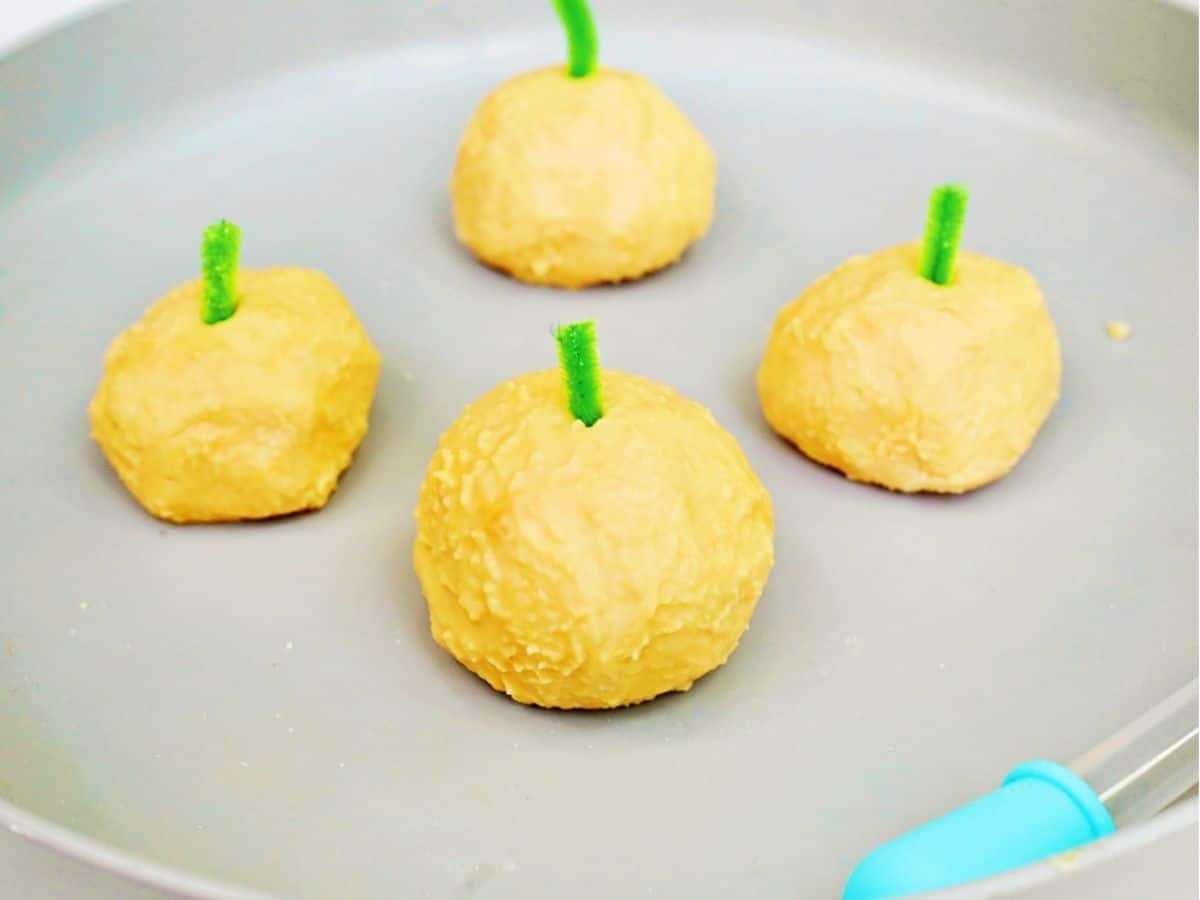
- Step 4: Add the Vinegar
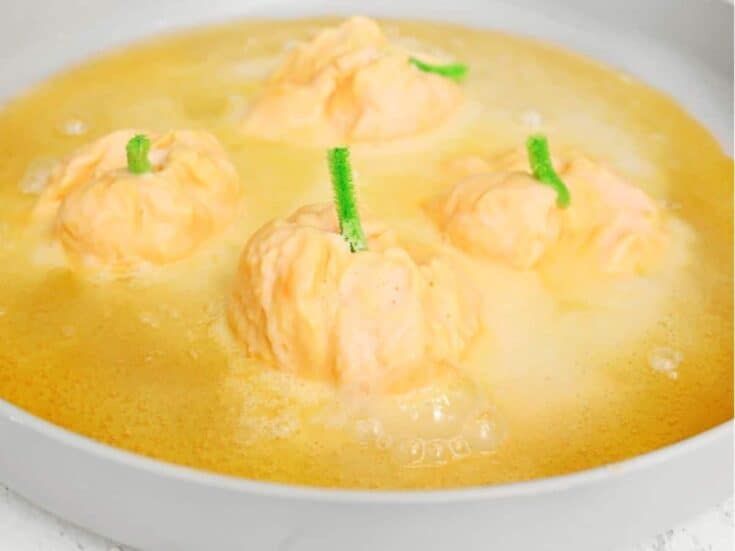
Fill a dropper with vinegar and slowly squeeze it onto the pumpkins. Watch as the vinegar reacts with the baking soda, creating bubbles and foam.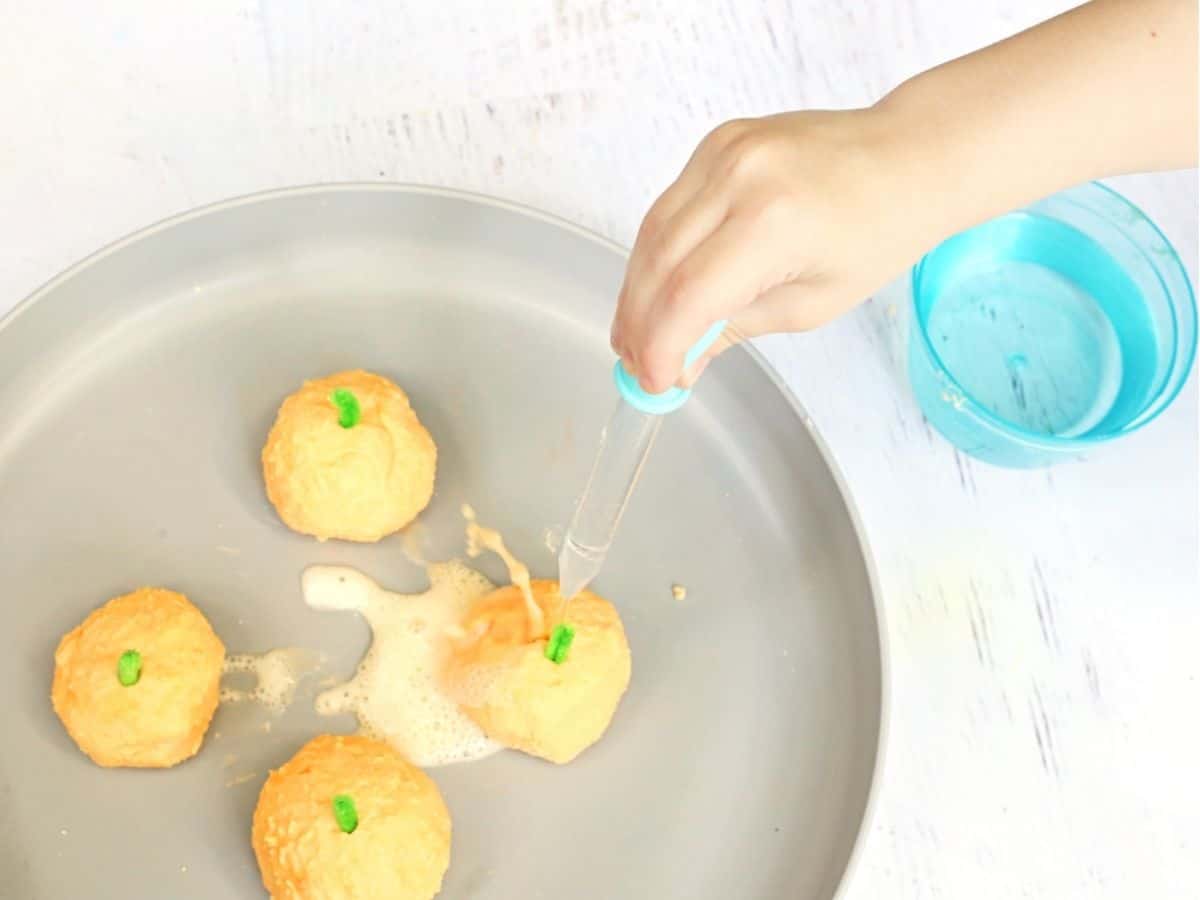
- Step 5: Keep Exploring
Continue adding vinegar to different areas of the pumpkins and observe how the reaction changes as more vinegar is added.
You’ll also love this pumpkin playdough activity if you want to continue the pumpkin theme
The science behind the fizz!
Preschool children don’t need to understand the science behind the reaction to enjoy it but older children might ask questions and like to know what is going on.
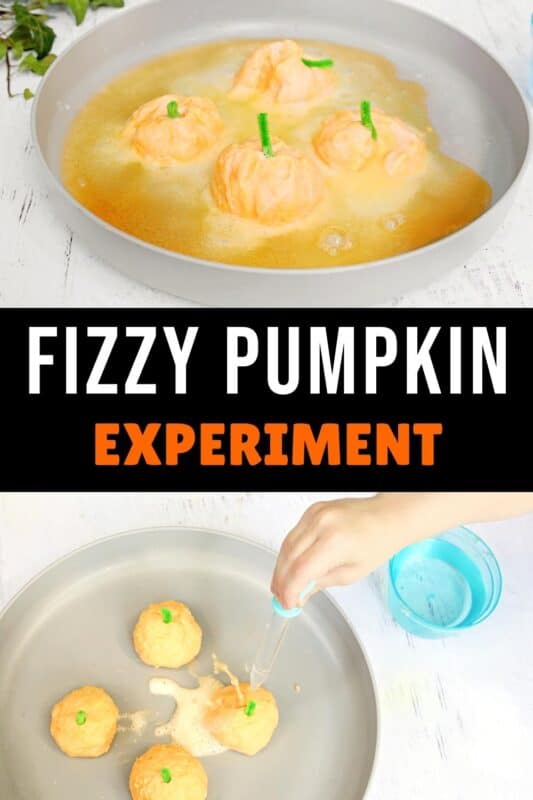
When baking soda and vinegar are combined they create a fizzy reaction. The bubbles created are due to the carbon dioxide gas escaping. This causes the pumpkin to fizz up and it feels really magical for young kids.
Top tips for this Fall STEM activity
You use a tray underneath your pumpkins to contain the liquid that forms as a result of the chemical reaction. This makes cleaning up a lot easier. You could even do this activity outside so that mess is less of an issue.
Benefits of this Halloween STEM activity
There are so many benefits to this simple Halloween STEM activity. I hope that your children enjoy watching the pumpkins fizzing! Here are some of the benefits of this experiment.
Introduction to STEM – This is a really simple chemical reaction (see above for full details). It’s a great way to introduce young children to science. It also encourages observation, prediction, and scientific thinking. This isn’t necessary for rally young children but it is another great introduction to STEM for older children.
Fine motor skills – both shaping the pumpkins and squeezing the droppers/pipets, strengthen fine motor skills of young children’s hands.
Sensory experience – sensory experiences are so important for young children and this one includes colours, bubbling and fizzing. These are all sure to delight your child.
Creativity – This activity combines art (making the pumpkins) and STEM (the chemical reaction) in one fun, seasonal activity.
Supervision reminder
Always supervise young children during this activity to make sure they don’t start putting anything in their mouths.
More fall activities for young children
Get 10 free fall coloring sheets here.
Here are my favourite Fall picture books. Perfect for getting cosy and reading this fall.
Find the best fall activities for preschool here.