Kids love sticks and often need some form of entertaining on a family walk so why not combine the two! Today I’m going to tell you how to make a journey stick on your next family walk. Find loads more fun things to do with sticks here.

Ad – This post contains affiliate links. These are marked with *. As an Amazon Associate, I earn from qualifying purchases. If you purchase through the links I may earn a small commission at no extra cost to you.
Journey sticks are a really fun nature craft that you can do with your child on your next nature walk. They’re really easy and fun to create, in any season and on any nature walk. You only need a few basic supplies that you could keep in your kid’s adventure backpack.
Making a journey stick is one of our favourite things to do on a walk with kids.

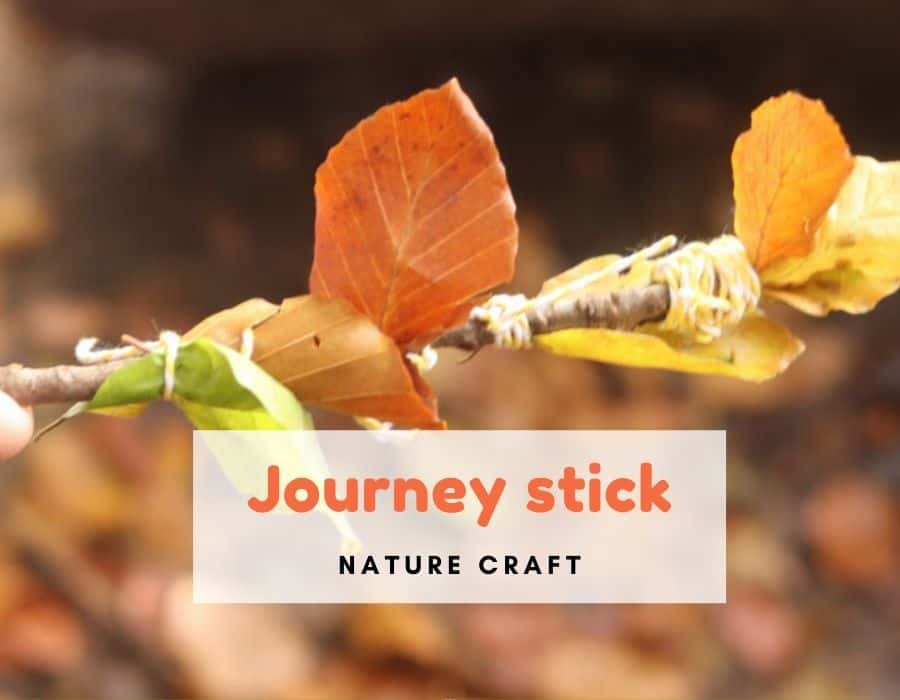
What is a journey stick?
A journey stick is a record of your nature walk. It’s a really simple way of getting your child to notice the natural loose parts around you and keep them busy on a walk. A busy child on a walk is far less likely to complain that they’re bored!
You can make a journey stick on lots of walks and each time they will be different depending on what your child finds and decides to attach to their stick.
Leaves are fantastic things to attach to journey sticks all year round but especially in autumn and winter. In spring and summer, your child’s journey stick may be more colourful if they can find a few colourful flowers.
Making a journey stick is one of many fun forest school activities you can do with your family.
How to make a journey stick
Making a journey stick is very simple if you have a few simple tools with you. We keep ours in my kid’s adventure backpack so they are always ready when the inspiration takes us (or we need a quick distraction for a bored child).
You will need:
- A stick
- child safe scissors
- double side sticky tape or
- string
That’s it, other than natural loose parts that your child needs to find on your nature walk. Think leaves, flowers, Feathers and driftwood.

How to make a journey stick, step by step
Journey sticks can be made by children of all ages. Older children can use the string method (as can younger children with some help). The sticky tape method is so simple, even a toddler or preschooler can make their own with very little help (once you have attached the tape and removed the backing for them).

How to make a journey stick
How to make a simple journey stick on your next nature walk.
Materials
- String
- Stick
Tools
- Child-safe scissors
Instructions
- Choose a stick. You need one that is about 20-30 cm long with no side branches. Look for one that isn't too wet.

- Cut a lengthen of string and tie it to the top of your stick if using string.

- Take your journey stick on your walk. As you walk ask your child to look for fallen leaves, flowers and feathers to attach to their stick.

- To attach with string, place the leaf or similar against the stick and then wrap the string around it several times. Then tie a knot in the string before repeating the process with the next item.

How to make a journey stick with sticky tape
For younger children, the sticky tape method is so much easier and allows them to create a journey stick independently. It’s one of many great outdoor activities for toddlers that you can find here.
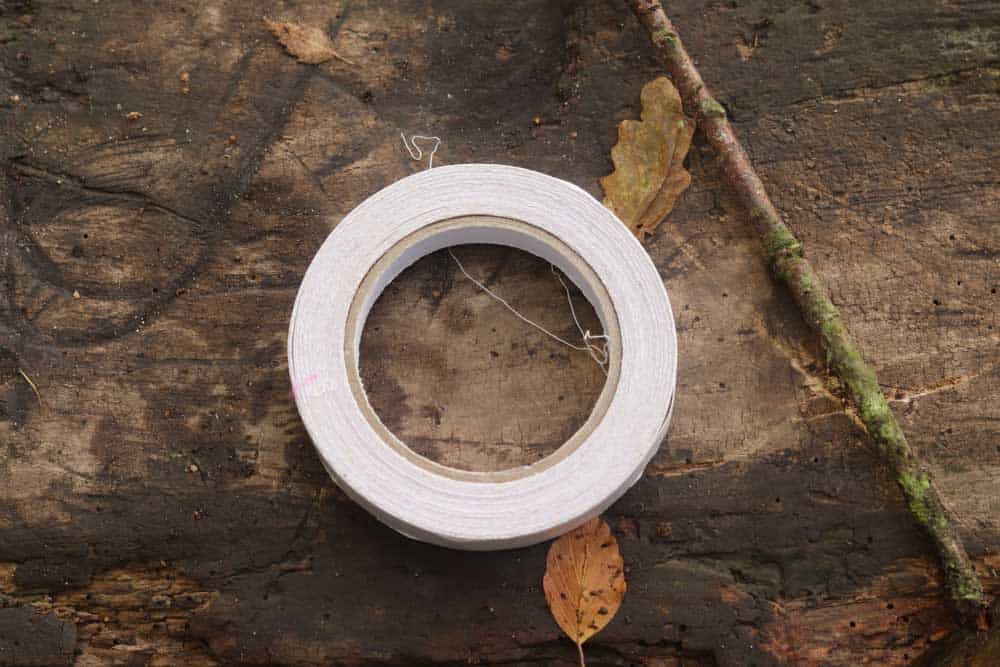
All you need is a stick and some double-sided sticky tape. Simply wrap some strips of double-sided tape around your stick at intervals down the length of the stick (leaving room at the bottom for your child to hold the stick).

Peel off the backing and hand the stick to your child. They can now add items to the stick as you walk.


Find more Forest school activities for 2 year olds here.
More nature crafts for kids you might enjoy
- Make a pine cone bird feeder for your garden
- Make your very own stickman
- Simple DIY paper bag lantern
- For more ideas for creative kids activities, here are my favourite creative activity books for kids.
Pin for later:

Love this idea.