
Create your own scarecrow with this simple and super cute scarecrow peg craft. If you’re looking for a lovely autumn craft to do with kids one afternoon then this one is perfect for you. Encourage your kids to get stuck in, experiment with different colour combinations and even hat shapes, and proudly show off their finished creations. Find more Autumn activities for kids.
Ad – This post contains affiliate links. As an Amazon Associate, I earn from qualifying purchases. If you purchase through the links I may earn a small commission at no extra cost to you.
Below you’ll find step by step instructions for this simple autumn craft for kids. It only needs a few simple craft supplies that you most likely have in your home. Depending on the age of your child, they made need some help with some of the steps.
So what are you waiting for? Create your own scarecrow craft together today.
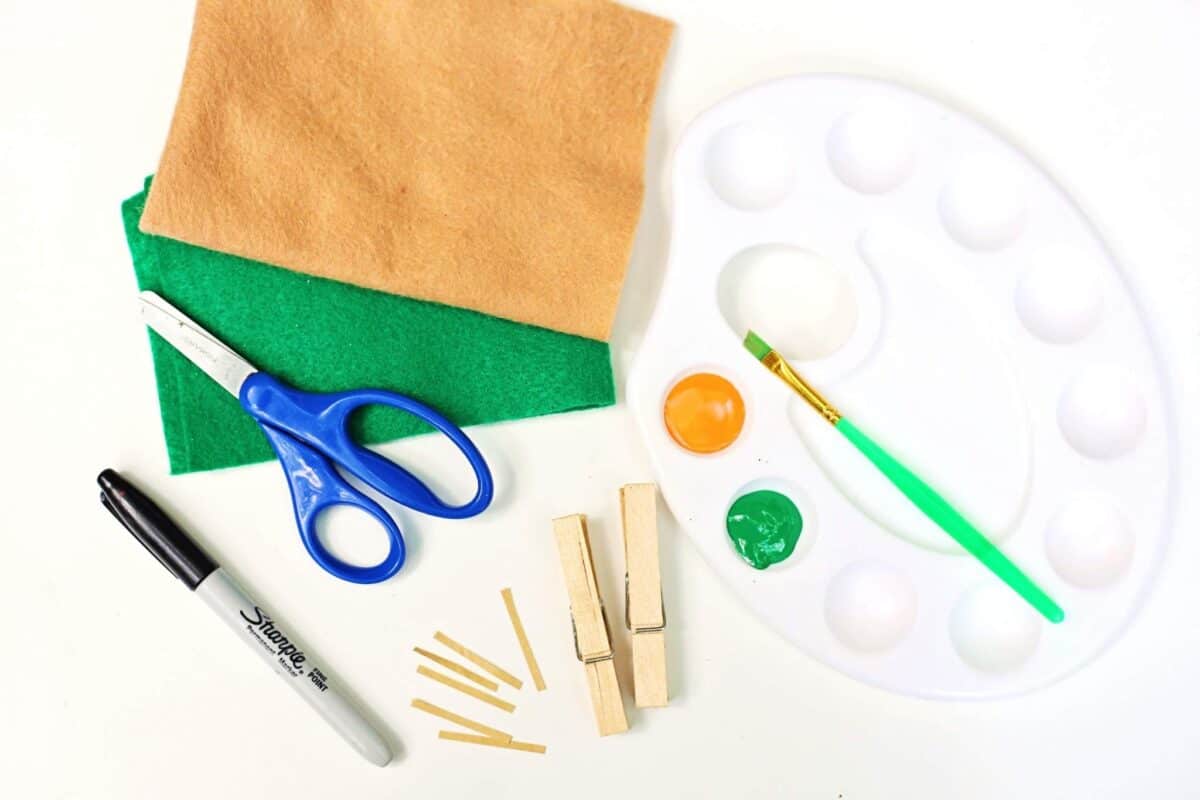
Supplies needed to make a scarecrow peg doll
- * Wooden clothespins
- * Acrylic paint (orange, green, or any fall colors)
- * Felt (for the hat)
- * Raffia or thin paper strips (for straw hair)
- Black marker
- Scissors
- Glue
Scarecrows are a great craft to do in the fall, as is a Sunflower Craft.
Looking to continue the scarecrow activities? How about scarecrow shape tracing next?
We love this handprint scarecrow craft too.
Continue the farm theme with this Horse Craft.
Instructions to make your scarecrow clothespin
Now you have gathered your supplies, it’s time to start making your scarecrow.
Step 1 – Paint the Clothespin or peg:
Start by painting the top two-thirds of a wooden clothespin or round peg, leaving the top section (which will become the head) unpainted. You can use any colour you like for this step. Then leave it to dry.
Whilst it’s drying you might like these free autumn pictures to colour.
Step 2 Make the Hat
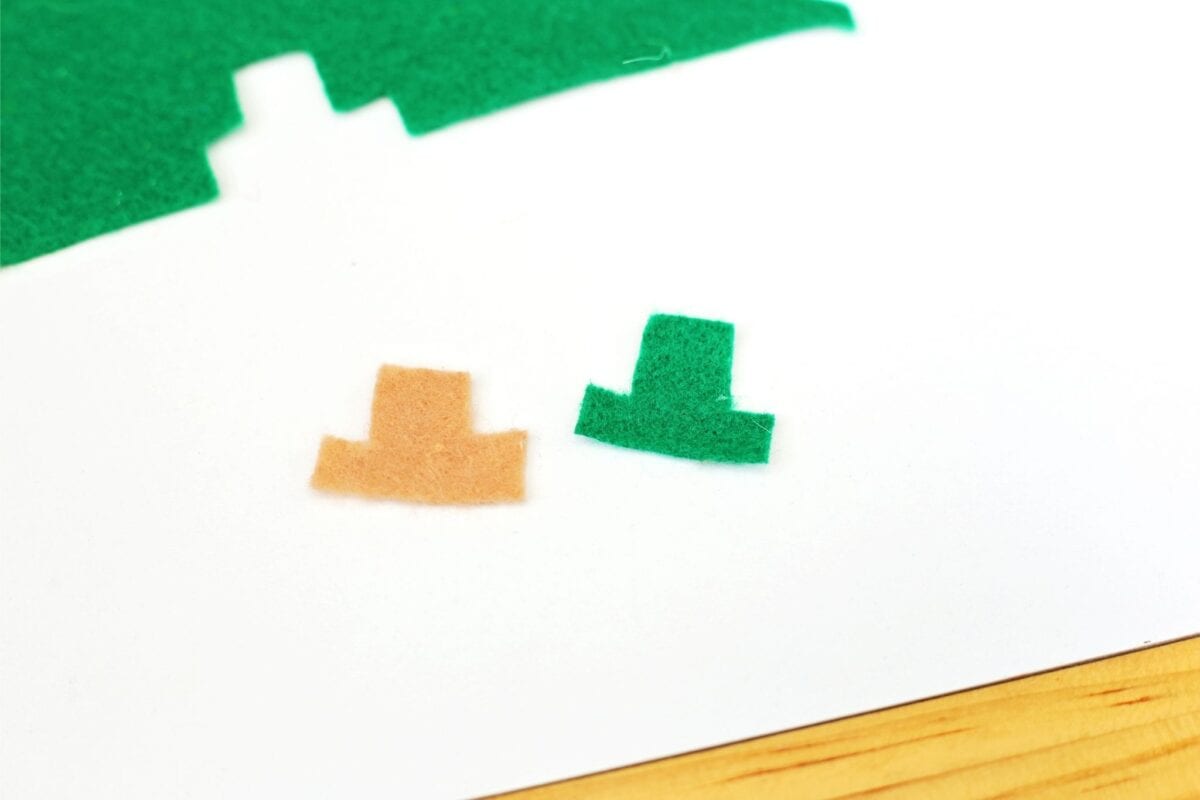
Cut a simple scarecrow-style hat shape out of felt in the colour of your choice. I don’t find children’s scissors are any good for cutting felt so you might have to do this step for your child.
Step 3 Add Hair
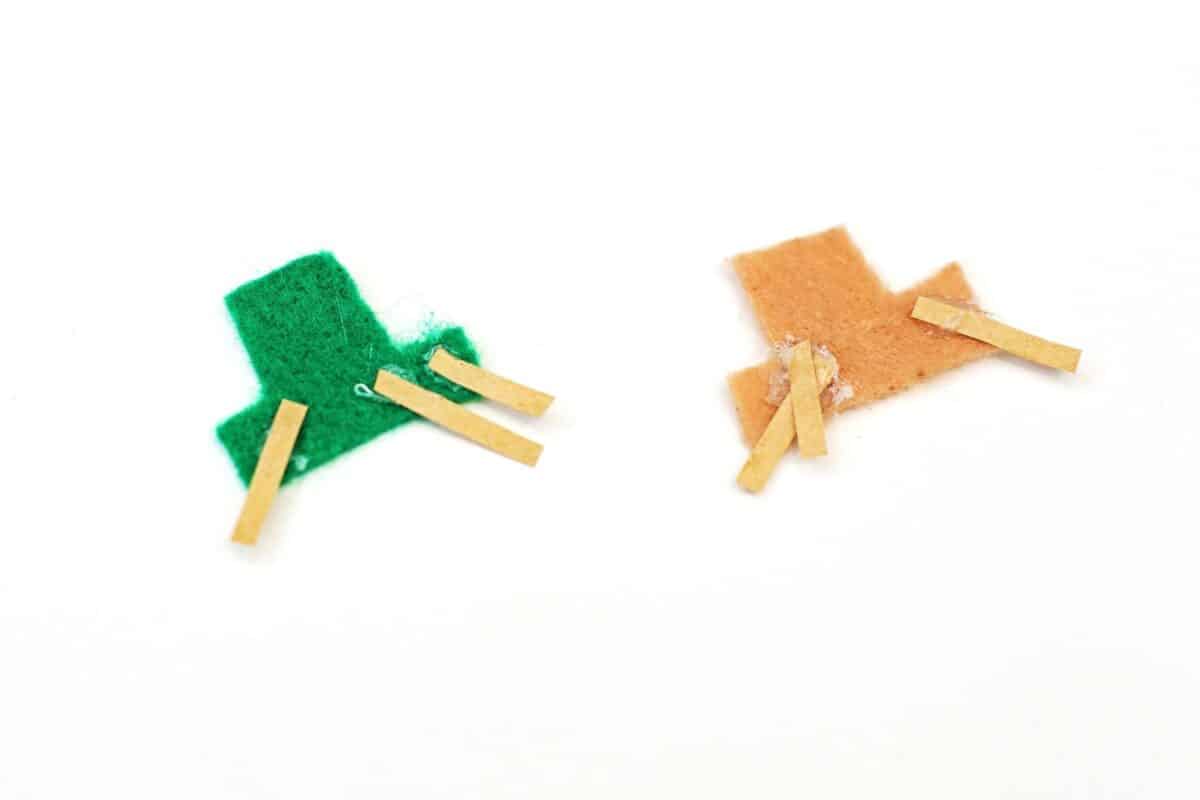
Carefully cut small strips of raffia or thin paper for your scarecrows hair. Then glue them to the back of the felt hat to look like straw hair poking out from under his hat.
Step 4 Attach the Hat
Glue your finished hat to the unpainted top section of the clothespin (the scarecrow’s head). I bet your scarecrow is starting to look cute now!
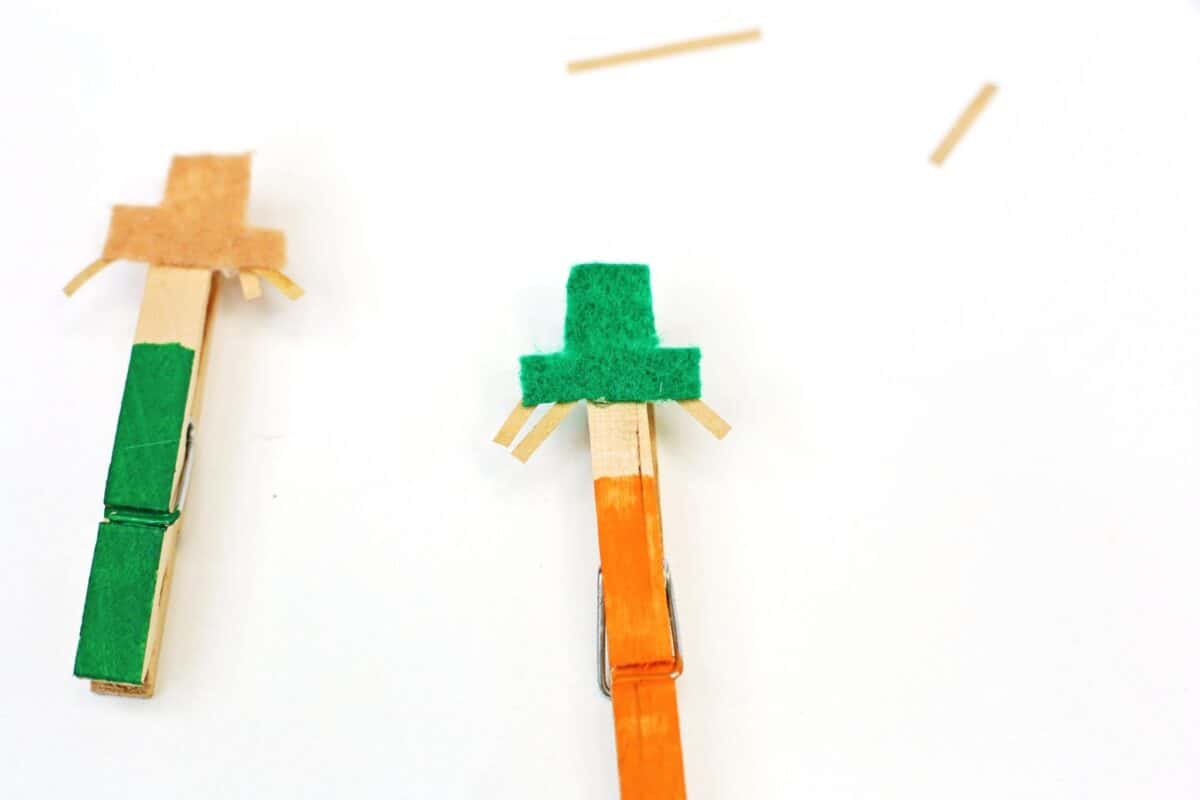
Step 5 Draw the Face & Details
It’s now time to give your scarecrow a face. Use a black marker to draw the eyes and stitched mouth. You can also draw patches on the scarecrow’s body. (I used a regular sharpie but a thin point sharpie might work best).
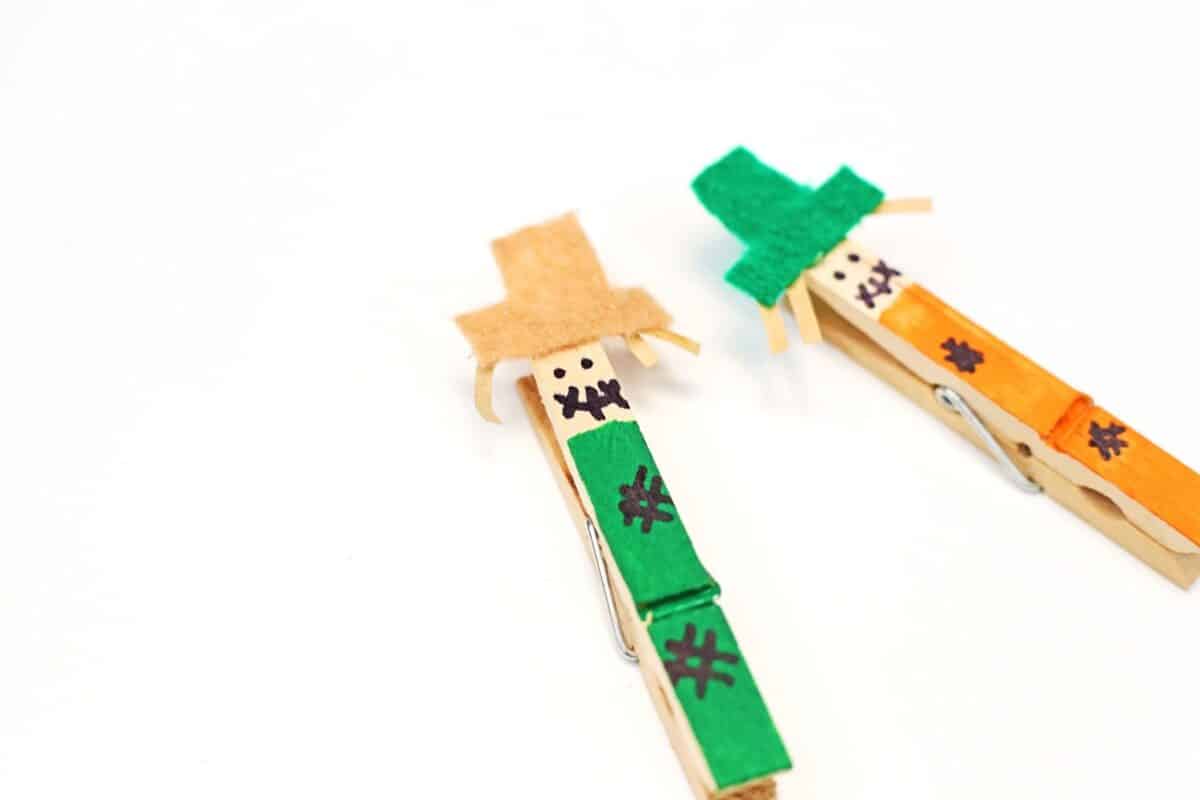
Optional Embellishments
You might life to add more details like buttons, mini fabric patches, or twine for extra texture and cute features.
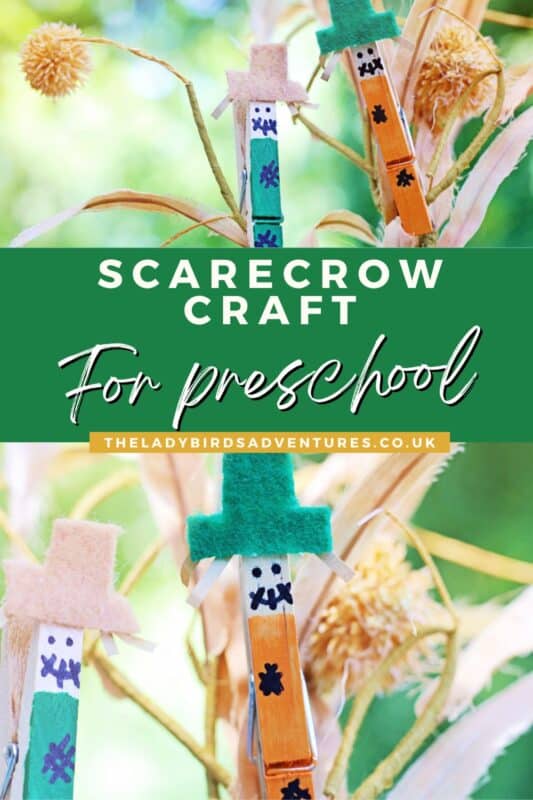
Your clothespin scarecrow is now complete!
You might like more ideas for scarecrow crafts for kids that you can find here.
More autumn crafts and art for kids
Find more Scarecrow crafts for kids here.
We love to use nature in our crafts in the autumn/fall. Find our favourite Autumn leaves activities for toddlers here.
Find more ways to use all the nature falling from the trees in autumn in my guide to the best Fall nature crafts for kids.
Find more Autumn art projects for toddlers here.
Have a little spooky fun with this Ghost Leaf Garland
Find more crafts for kids here.
Such cute little faces on those scarecrows!