
If you’re looking for a fun and colorful activity to do with kids, this butterfly craft is the perfect pick. Using just a few basic supplies like watercolor paints, paper, and craft sticks, you can create beautiful butterflies that are great for spring, summer, or anytime creativity strikes. Whether you’re crafting at home, in the classroom, or for a themed party, this easy project is sure to be a hit. Find more crafts for kids here.
Ad – This post contains affiliate links. As an Amazon Associate, I earn from qualifying purchases. If you purchase through the links I may earn a small commission at no extra cost to you.
Why we love this watercolor butterfly craft
We love this butterfly craft because it’s simple, low-mess, and encourages creativity. Kids get to practice fine motor skills through cutting, painting, and assembling their butterflies, and every design turns out unique. It’s also a great way to introduce colors, patterns, and symmetry in a hands-on, playful way. Plus, the finished butterflies make adorable decorations or keepsakes.
Supplies you’ll need
You don’t need many supplies and hopefully you already have most of these.
- Watercolor paper
- Watercolor paints
- Paintbrush
- Butterfly wing template (optional)
- Pencil
- Scissors
- Jumbo popsicle stick
- Black pipe cleaner
- Glue
- Cup of water & paper towel (for painting)

You might also enjoy this flower kindness craft.
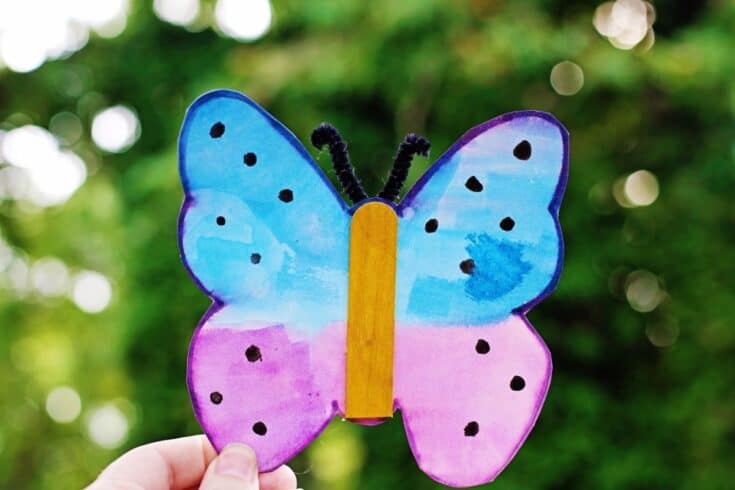
Watercolour butterfly craft
Materials
- Watercolor paper
- Watercolor paints
- Butterfly wing template (optional)
- Pencil
- Jumbo popsicle stick
- Black pipe cleaner
- Glue
Tools
- Paintbrush
- Scissors
- Cup of water & paper towel (for painting)
Instructions
- Prepare the wings – Print a butterfly wing template (optional) and cut it out.

- Trace the shape onto watercolor paper, or draw your own wings by hand.
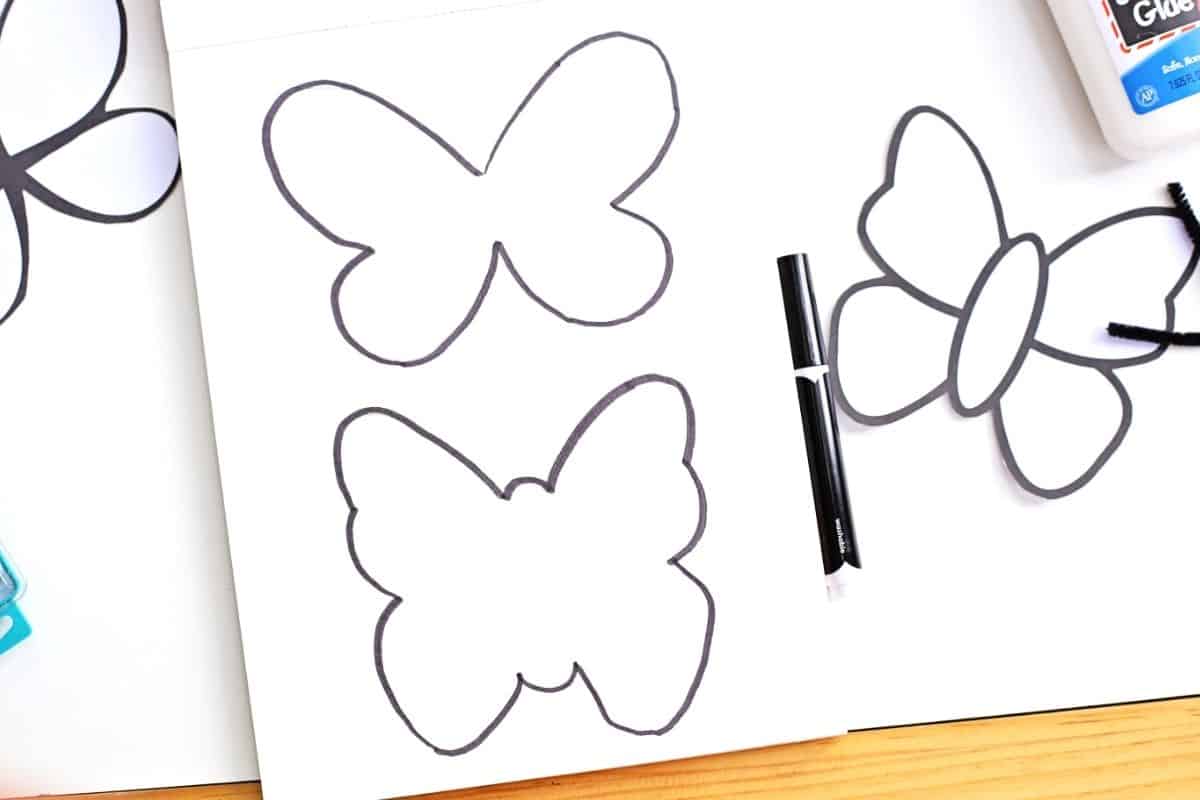
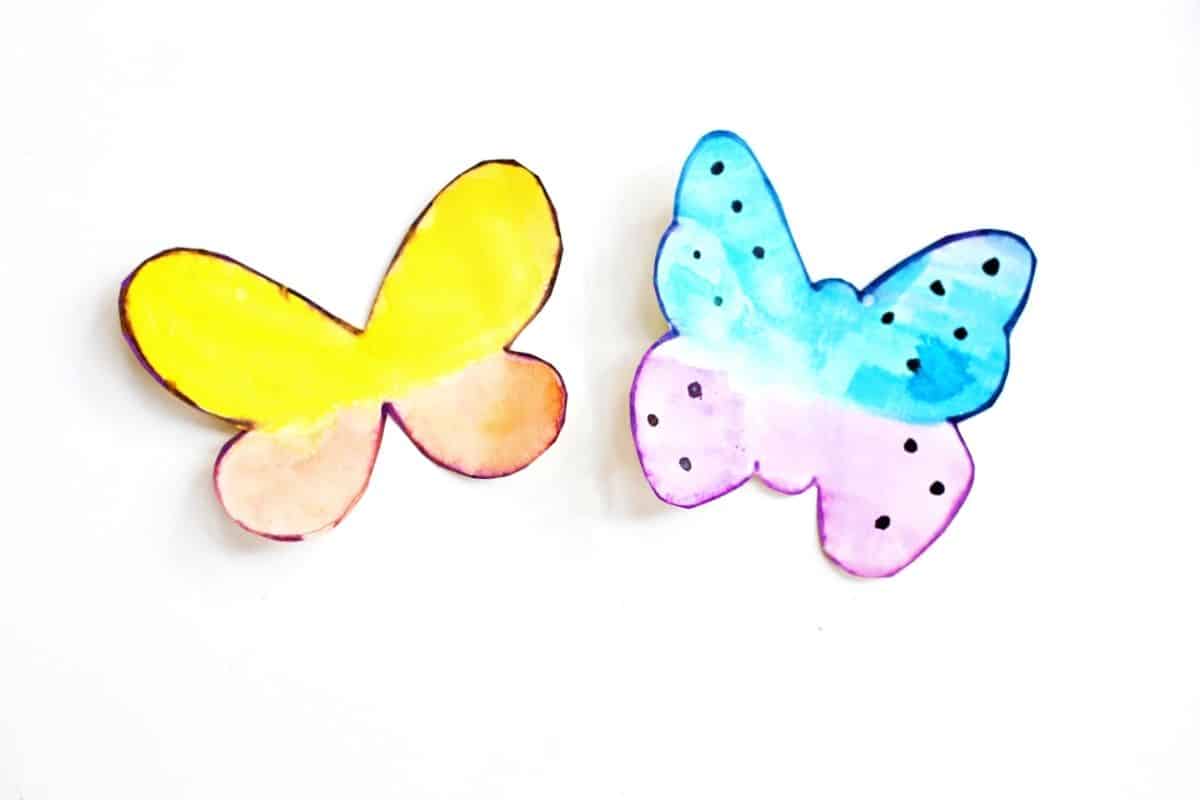
- Paint the base layer – Add broad strokes of watercolor paint to the wings in any colors you like. Let this first layer dry completely.

- Add the details – Once the paint is dry, use a smaller brush to add details like dots, lines, or patterns. Let it dry again.

- After the paint has completely dried, carefully cut out the butterfly wings.
- Cut a jumbo popsicle stick in half to create the butterfly’s body. Glue the popsicle stick vertically in the center of the wings.

- Next it's time to make the antennae. Cut a black pipe cleaner in half, curl the ends, and fold it in the middle to form antennae.
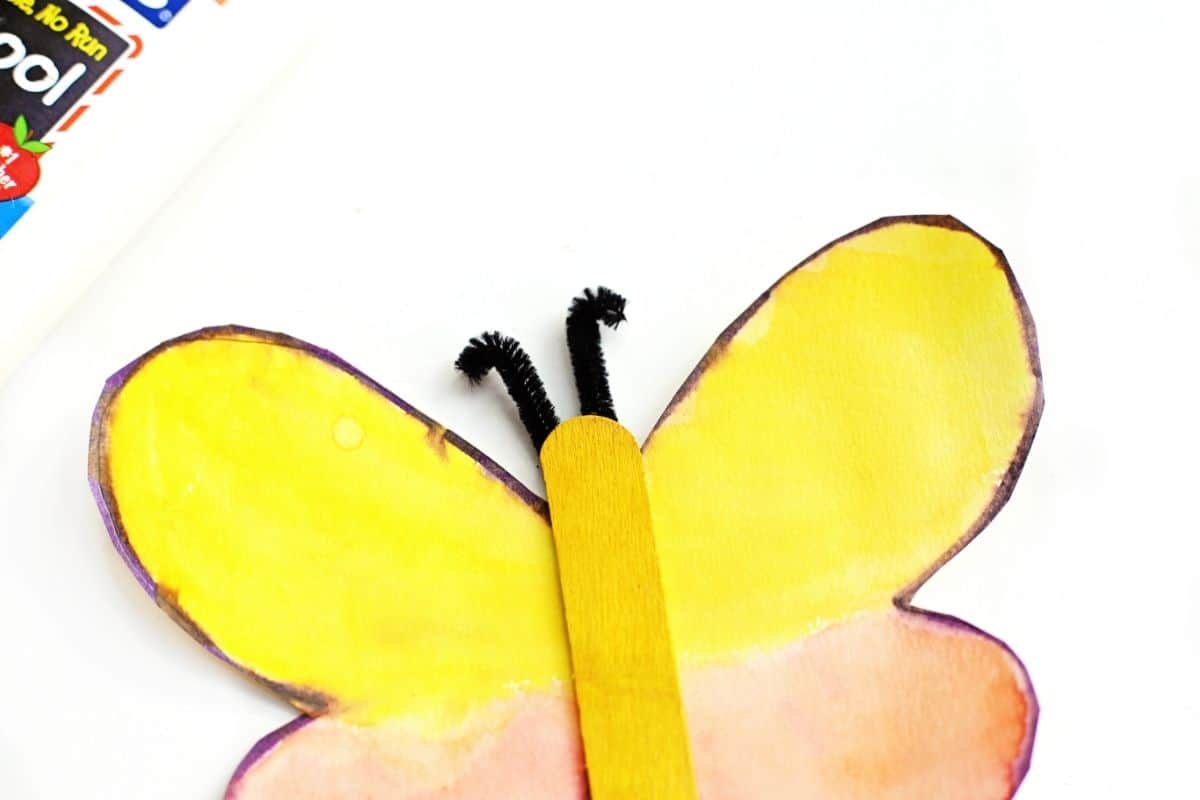
- Glue the folded pipe cleaner to the top back of the popsicle stick body. Let the glue dry before displaying your butterfly.
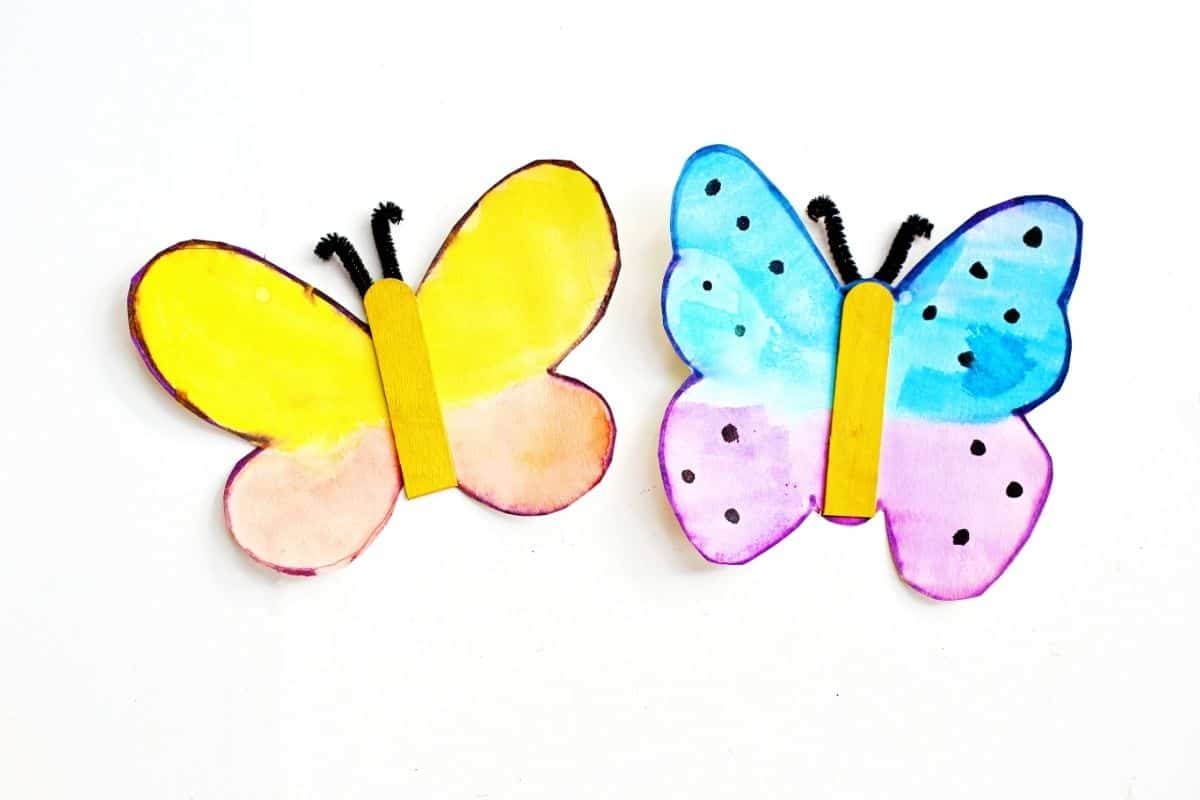
You may also like to use this technique using these Printable Butterfly Bracelets.
I hope your kids enjoy this butterfly craft as much as mine!

More bugs and insect activities for kids
Find a full guide to all my bug activities for preschool here.
If you have enjoyed creating butterfly art, you might like this sponge painted caterpillar
Find a fun build a bug playdough activity here.
Find loads of Spring crafts for preschoolers here.
Find some Spring Art Projects for Kids here.
We love this bug bingo printable.
Find out how to set up your own butterfly life cycle sensory bin.