
Looking for a fun and easy Easter activity to do with your kids? This Easter chick craft for kids is a colorful, hands-on project that uses simple supplies like paper plates, paint, and glue. It’s a great way to get creative together and makes the perfect little spring decoration. Find more Easter activities for kids here.
Ad – This post contains affiliate links. As an Amazon Associate, I earn from qualifying purchases. If you purchase through the links I may earn a small commission at no extra cost to you.
Why we love this Easter hatching chick craft
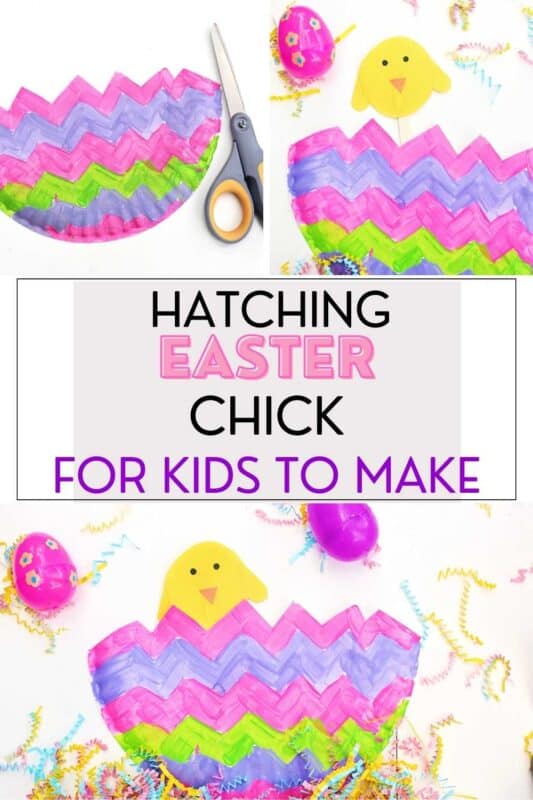
We love this Easter craft because it is colorful, creative and easy for kids. The egg allow your child to use their creativity and design their own unique egg. they might use our zigzag stripes for inspiration or they may come up with their own idea.
Painting, cutting and gluing are all great fine motor skills activities for young children too. You can display the finish craft or you can use it to inspire creative play and storytelling (more details below).
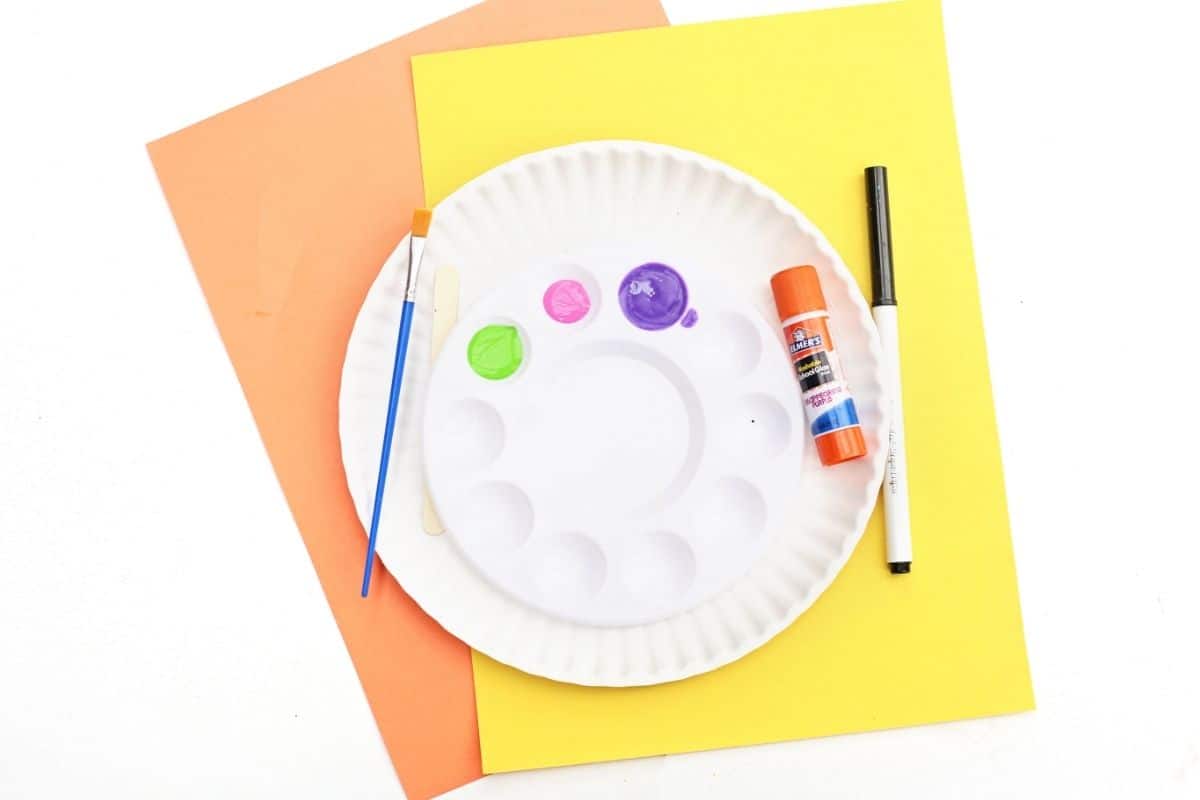
Supplies you need for this Easter chick craft for kids
You only need a few basic supplies. These are:
- Paper plate
- Yellow construction paper
- Orange construction paper
- Craft paint and paintbrush
- Popsicle stick
- Scissors
- Glue
- Black marker or crayon
You might also like this Easter chick craft using popsicle sticks or this Easter Egg Suncatcher Craft + Template.
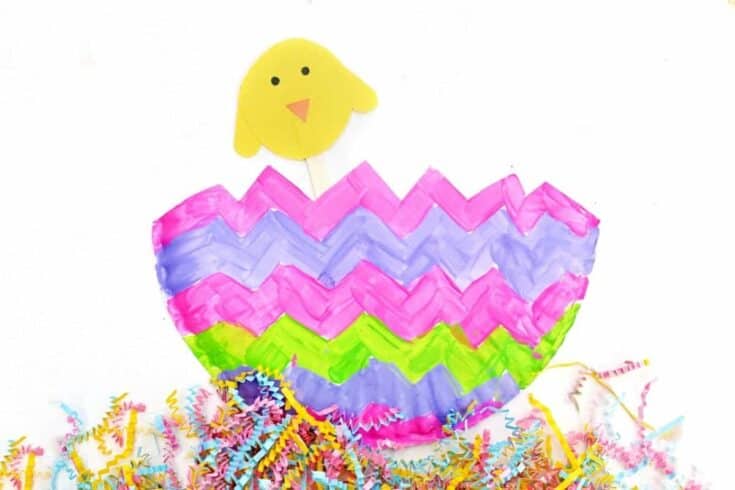
Easter chick craft
Help children to create their own hatchin Easter chick craft
Materials
- Paper plate
- Yellow construction paper
- Orange construction paper
- Craft paint
- Popsicle stick
- Glue
- Black marker or crayon
Tools
- Scissors
- Paintbrush
Instructions
- We are going to start by painting the egg. Turn the paper plate over and paint the back to look like an Easter egg. Kids can use pastel colors, stripes, dots, zigzags, or any egg design they like. Set the plate aside to dry completely.


- Next we are going to make the chick. From yellow construction paper, cut out one large circle for the chick’s body and two small wing shapes. From orange construction paper, cut out a small triangle for the beak.

- Glue the wings onto the sides of the yellow circle. Add the orange beak to the center of the chick’s face. Use a black marker or crayon to draw two eyes.

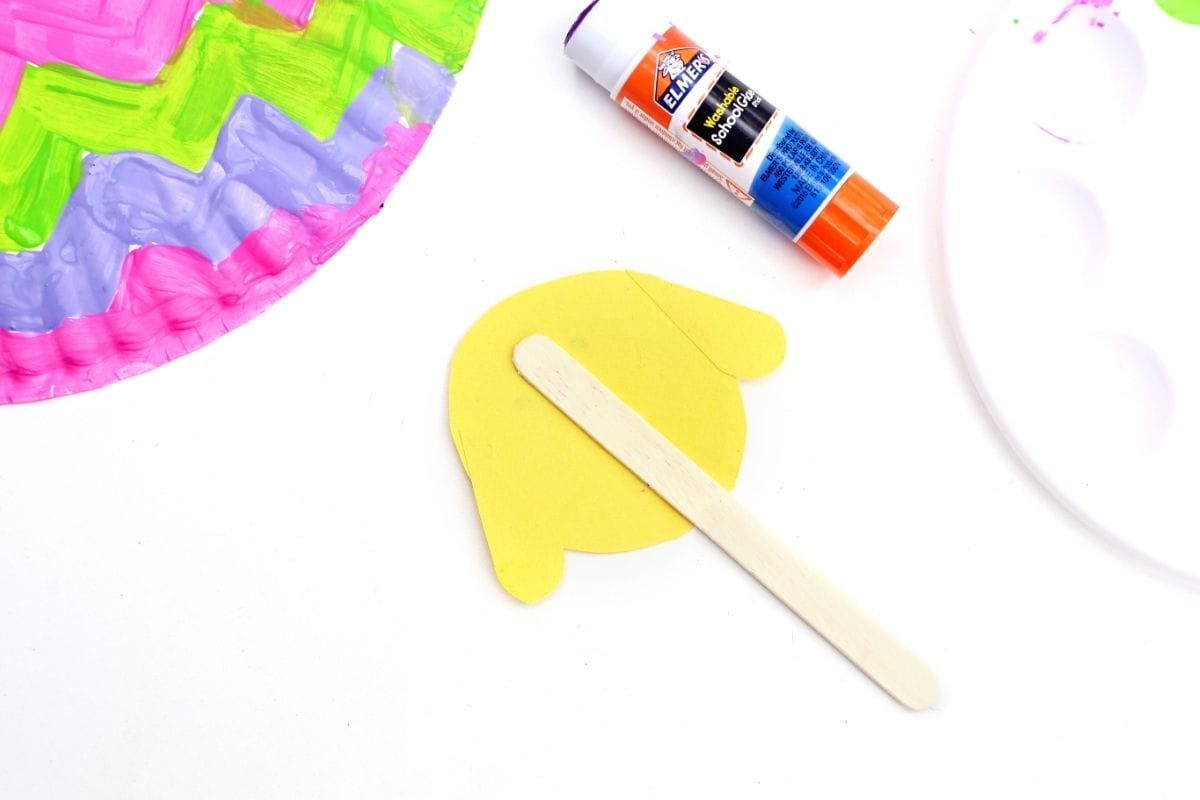
- Glue the finished chick to the top of a popsicle stick. Press firmly and let it dry so the chick stays secure.
- Once the paint on the paper plate is dry, cut the plate in half using a zigzag or curved line to look like a cracked egg.

- Finaly dlide the chick on the popsicle stick behind the plate. Slowly lift the stick upward so the chick pops out of the cracked egg.

Now your Easter chick craft is complete your child might like to use it in pretend play, storytelling, or even a mini Easter puppet show.
More Easter activities for kids
This bunny handprint art is perfect for Easter.
Find ore Easter art projects for kids here.
Find Easter Bunny crafts here.
Find a fun Easter STEM activity here – Easter fizzy surprise activity